Upgrading from 24.04 LTS to 26.04 LTS
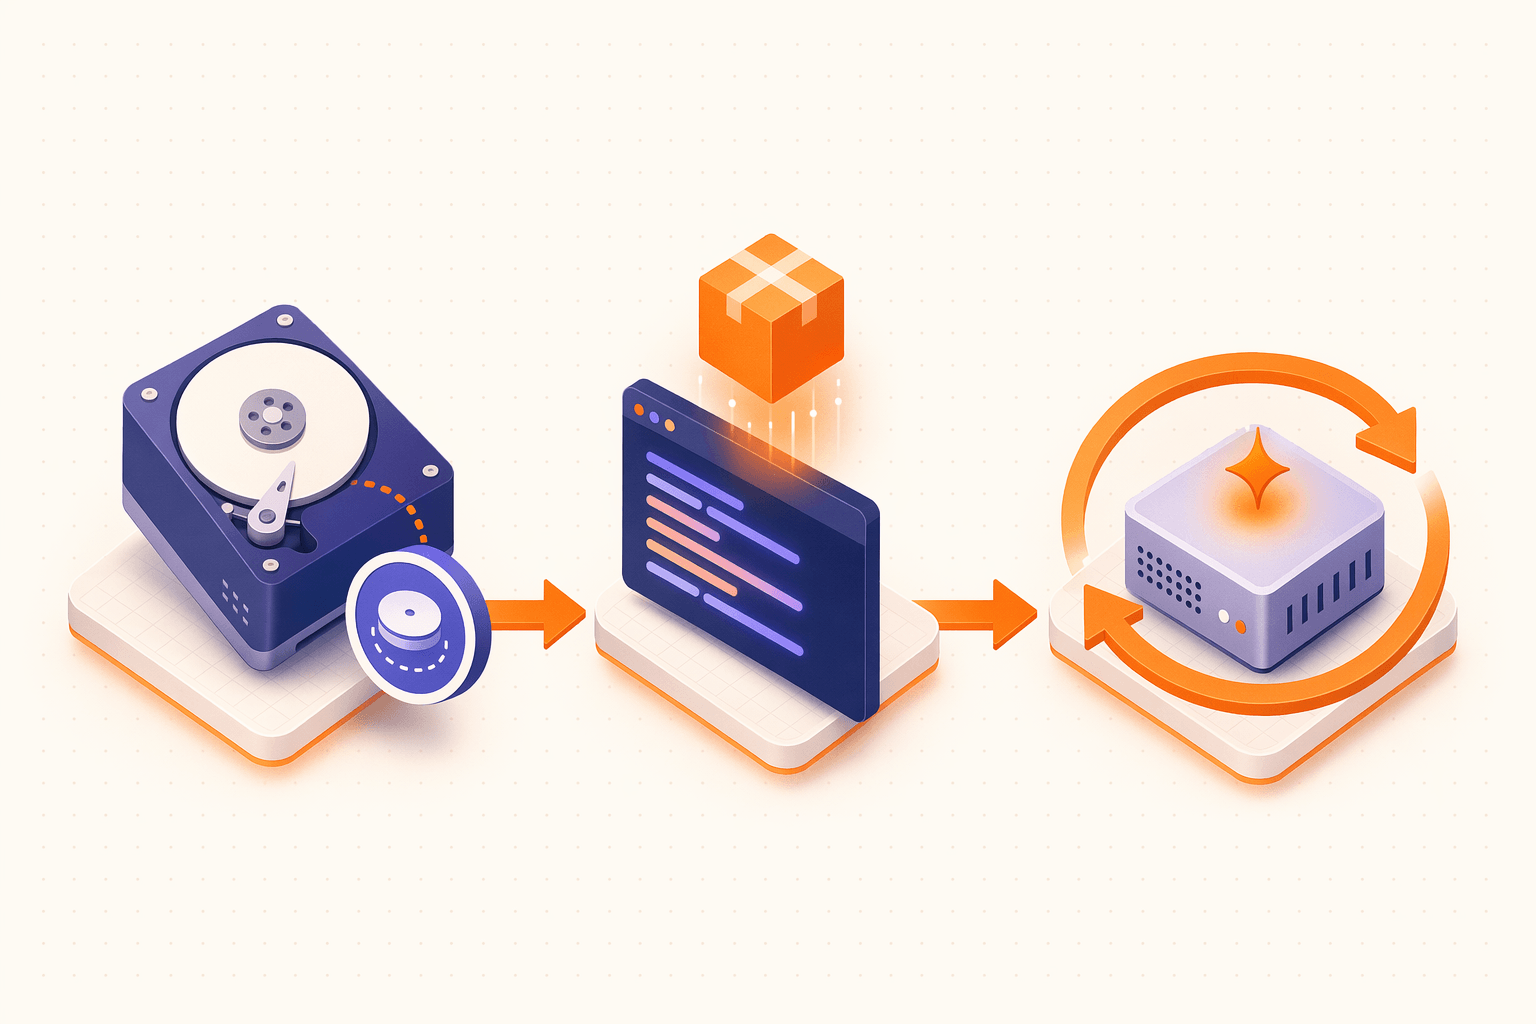
Dump /etc, /home, and your databases at minimum; servers should keep IPMI or a console as fallback.
Bring the existing 24.04 packages fully up to date so the upgrader starts from a clean baseline.
Trigger the cross-release upgrade; accept defaults with Y when prompted and do not interrupt power.
26.04.1 was released on August 27, 2026, the point at which automatic upgrade prompts for 24.04 LTS open. Canonical says a rust-coreutils regression fix must land first, so the automatic prompt is expected about two weeks after the release (early September 2026); in the meantime, sudo do-release-upgrade -d works immediately.
Ubuntu supports direct LTS-to-LTS upgrades. This article provides a detailed guide for upgrading from Ubuntu 24.04 LTS (Noble Numbat) to 26.04 LTS.
Prerequisites
- Current system is Ubuntu 24.04 LTS with all updates installed
- At least 5 GB of free disk space
- Stable network connection
- Data backup completed
- For remote servers, ensure you have out-of-band management (such as IPMI, cloud console) as a backup access method
A version upgrade is a major operation with risks of failure or software incompatibility. Be sure to complete a full data backup before upgrading. For servers, ensure you have out-of-band management or other backup access methods. Do not interrupt power or network connections during the upgrade process.
Pre-Upgrade Preparation
1. Confirm Current Version
lsb_release -a
cat /etc/os-release
2. Update the Current System
sudo apt update
sudo apt upgrade -y
sudo apt dist-upgrade -y
sudo apt autoremove -y
3. Ensure update-manager-core Is Installed
sudo apt install update-manager-core -y4. Check Upgrade Policy
cat /etc/update-manager/release-upgradesConfirm that Prompt is set to lts:
[DEFAULT]
Prompt=lts
If the value is not lts, change it:
sudo sed -i 's/^Prompt=.*/Prompt=lts/' /etc/update-manager/release-upgrades5. Handle Third-Party Sources and PPAs
# List all third-party sources
grep -r "^deb " /etc/apt/sources.list.d/ 2>/dev/null
apt-cache policy | grep -v ubuntu.com

# It is recommended to disable all PPAs before upgrading
sudo add-apt-repository --remove ppa:example/ppa
# Or manually comment out third-party sources
The upgrade tool will automatically disable third-party sources, but handling them in advance can reduce potential issues.
6. Record Current System State
# Record installed packages
dpkg --get-selections > ~/packages-before-upgrade.txt

# Record running services
systemctl list-units --type=service --state=running > ~/services-before-upgrade.txt

# Record network configuration
ip addr > ~/network-before-upgrade.txt
cat /etc/netplan/*.yaml > ~/netplan-before-upgrade.txt 2>/dev/null

# Record kernel version
uname -r > ~/kernel-before-upgrade.txt
Performing the Upgrade
Desktop System
# Graphical interface upgrade
sudo do-release-upgrade -f DistUpgradeViewGtk3
Or wait for the system to automatically display an upgrade notification.
Server / Command Line
# Upgrade via SSH
sudo do-release-upgrade
If 26.04 was just recently released, you may need to add the
-dflag:sudo do-release-upgrade -d
Interactions During the Upgrade
Several prompts will appear during the upgrade process:
- Upgrade confirmation - Confirm to proceed with the upgrade
- SSH port - The upgrade tool will start a backup SSH service on port 1022 in case port 22 is interrupted
- Configuration file conflicts - When a configuration file has been modified, you need to choose whether to keep the local version or use the new version
- For critical files (like SSH configuration), it is recommended to keep the local version
- When unsure, keep the local version and manually merge after the upgrade
- Remove obsolete packages - Choose whether to delete packages that are no longer needed
- Restart confirmation - Restart the system after the upgrade is complete
Special Considerations for SSH Upgrades
# The upgrade tool will prompt to run a backup SSH on port 1022
# If the main SSH connection drops, use:
ssh -p 1022 user@server-ip

# Allow port 1022 through the firewall
sudo ufw allow 1022/tcp

# It is recommended to run the upgrade in screen or tmux
sudo apt install screen -y
screen -S upgrade
sudo do-release-upgrade

# If disconnected, reattach:
screen -r upgrade
Post-Upgrade Verification
1. Confirm Version
lsb_release -a
# Should display Ubuntu 26.04 LTS

cat /etc/os-release
uname -r
2. Check System Status
# Check for broken packages
sudo dpkg --audit
sudo apt --fix-broken install

# Check for held-back packages
apt list --upgradable

# Complete remaining updates
sudo apt update
sudo apt upgrade -y
3. Check Service Status
# View failed services
systemctl --failed

# Compare with the pre-upgrade service list
systemctl list-units --type=service --state=running
4. Cleanup
# Remove old kernels (keep current and previous version)
sudo apt autoremove --purge -y

# Clean package cache
sudo apt clean

# Re-enable needed third-party sources (update to 26.04 version)
# Note: The version codename in PPA URLs needs to be updated
5. Restore Third-Party Sources
# After upgrade, third-party sources are disabled with .distUpgrade suffix
ls /etc/apt/sources.list.d/*.distUpgrade

# Check if the PPA supports 26.04
# If it does, re-add it
sudo add-apt-repository ppa:example/ppa
Common Issues
Upgrade Process Interrupted
# If the upgrade is interrupted, try to resume
sudo dpkg --configure -a
sudo apt --fix-broken install
sudo do-release-upgrade
“No new release found”
# Confirm the Prompt setting is correct
cat /etc/update-manager/release-upgrades

# Try the -d parameter
sudo do-release-upgrade -d

# Check network connectivity
ping changelogs.ubuntu.com
Package Dependency Conflicts
# View conflict details
sudo apt -f install
sudo dpkg --audit

# Force configure unfinished packages
sudo dpkg --configure -a

# View logs
cat /var/log/dist-upgrade/main.log
cat /var/log/dist-upgrade/apt.log
System Won’t Boot After Upgrade
If the system fails to boot after upgrading:
- Select an older kernel from the GRUB menu
- Enter Recovery Mode
- Check logs in
/var/log/dist-upgrade/ - Repair broken packages:
dpkg --configure -a && apt --fix-broken install
Upgrade Logs
All upgrade logs are saved in the /var/log/dist-upgrade/ directory:
ls -la /var/log/dist-upgrade/
# main.log      - Main log
# apt.log       - APT operation log
# apt-term.log  - APT terminal output
# history.log   - Upgrade history
# lspci.txt     - Hardware information snapshot
Related Articles
- Pre-Upgrade Backup Checklist — Checklist of critical data and configurations to back up before upgrading
- Post-Upgrade Checklist — System verification and follow-up tasks after upgrade completion
- Common Compatibility Issues — Software and hardware compatibility issues that may occur after upgrading
- Rollback Strategies — System rollback options if the upgrade fails or is unsatisfactory